
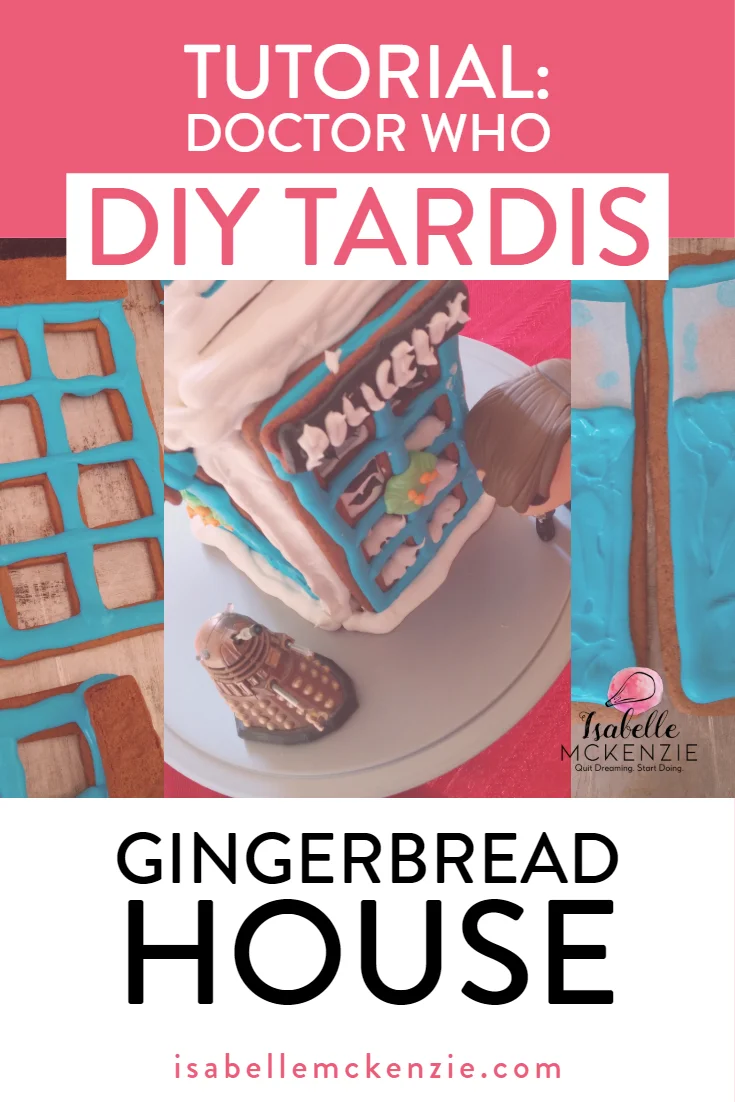
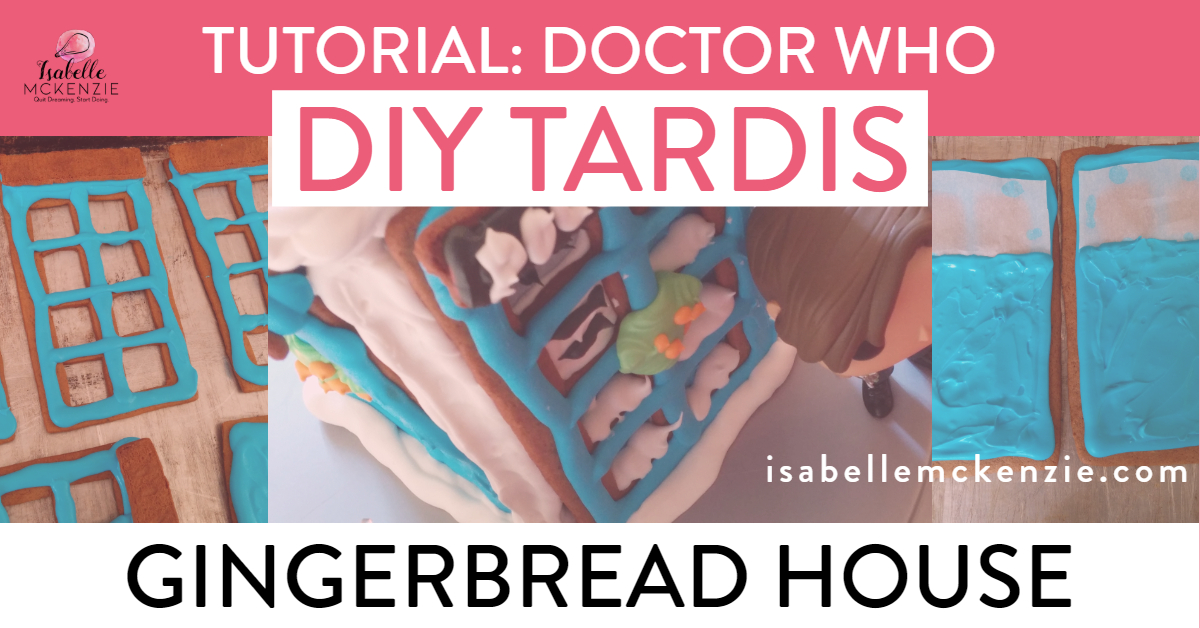
Tutorial: DIY Doctor Who TARDIS Gingerbread House
Tutorial:
DIY
Doctor Who TARDIS Gingerbread House
A full step-by-step tutorial for this adorable TARDIS gingerbread house for Whovians and non-Whovians alike.
Homemade gingerbread cookies have been a Holiday tradition in my house ever since I was old enough to make them. I've made all the traditional shapes, (gingerbread men, trees angels, etc) and even some character cookies, but until last year, I'd never made a gingerbread house.
My my sister actually suggested it.
She'd been asking about it for the past couple years, so I gave in. I didn't want to go with any too difficult or fiddly, because I repeat, it was my first one.
I ended up falling upon a Martha Stewart template that seemed pretty simple and pretty, and I gave it my best shot.
My little house came out better than I expected, so this year, with boosted confidence, I decided that I'd go for something a bit more unique.
I set out on a search for some ideas, and that's when I discovered a bountiful collection of amazing TARDIS gingerbreads on Pinterest.
As an avid Whovian, I'd already been thinking about a TARDIS house, so when I saw them I had to give it a go.
The Process.
As with most fiddly desserts, I'd suggest making this TARDIS over a couple days. I made mine over the course of 3 days, making the dough on a Tuesday, baking Wednesday, and finally frosting/assembling Thursday. (Though I did go and add a weeping angel cookie the next day).
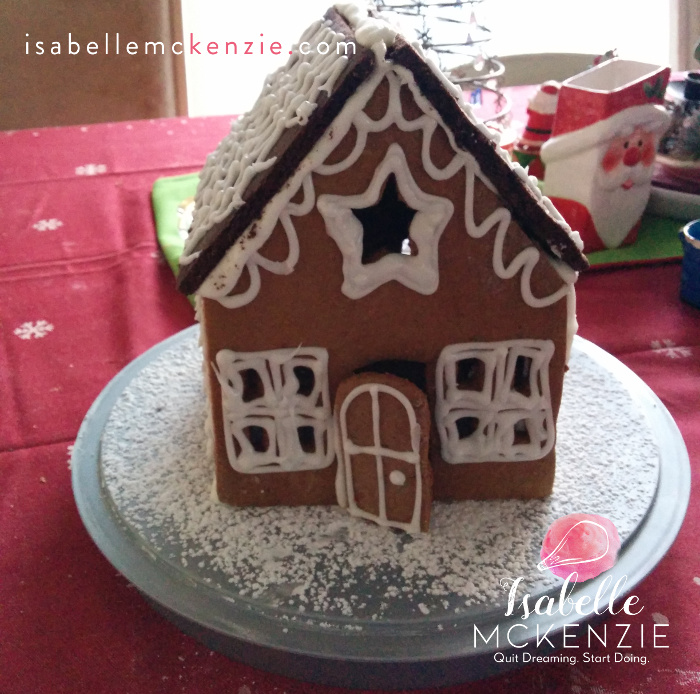
Last Year’s Gingerbread
What You'll Need
The Recipes
For my dough, I use the same recipe every year, this one from Allrecipes. Make sure you bake off your cookies for a bit longer to make sure they don't break during assembly.
For my frosting, I went with this recipe from Pioneer Woman. I um and ah every year about which icing is best, but this recipe holds its shape well, and is easy to dilute (whip it only to soft peaks, otherwise you'll get bad piping edges.
Plus, it dries quickly (and vary hard, don't hurt your teeth trying to eat this frosting after a couple days). However, if you are uncomfortable using raw whites, this recipe made with meringue powder is good. I recommend using this gluten free meringue powder.
The Template
For the template, I found this one from Sugared Nerd's site. I did mess about with the proportions before I printed it out for mine, it's perfectly good to use as is. You'll need and exacto knife for cutting out the windows, I got mine here.
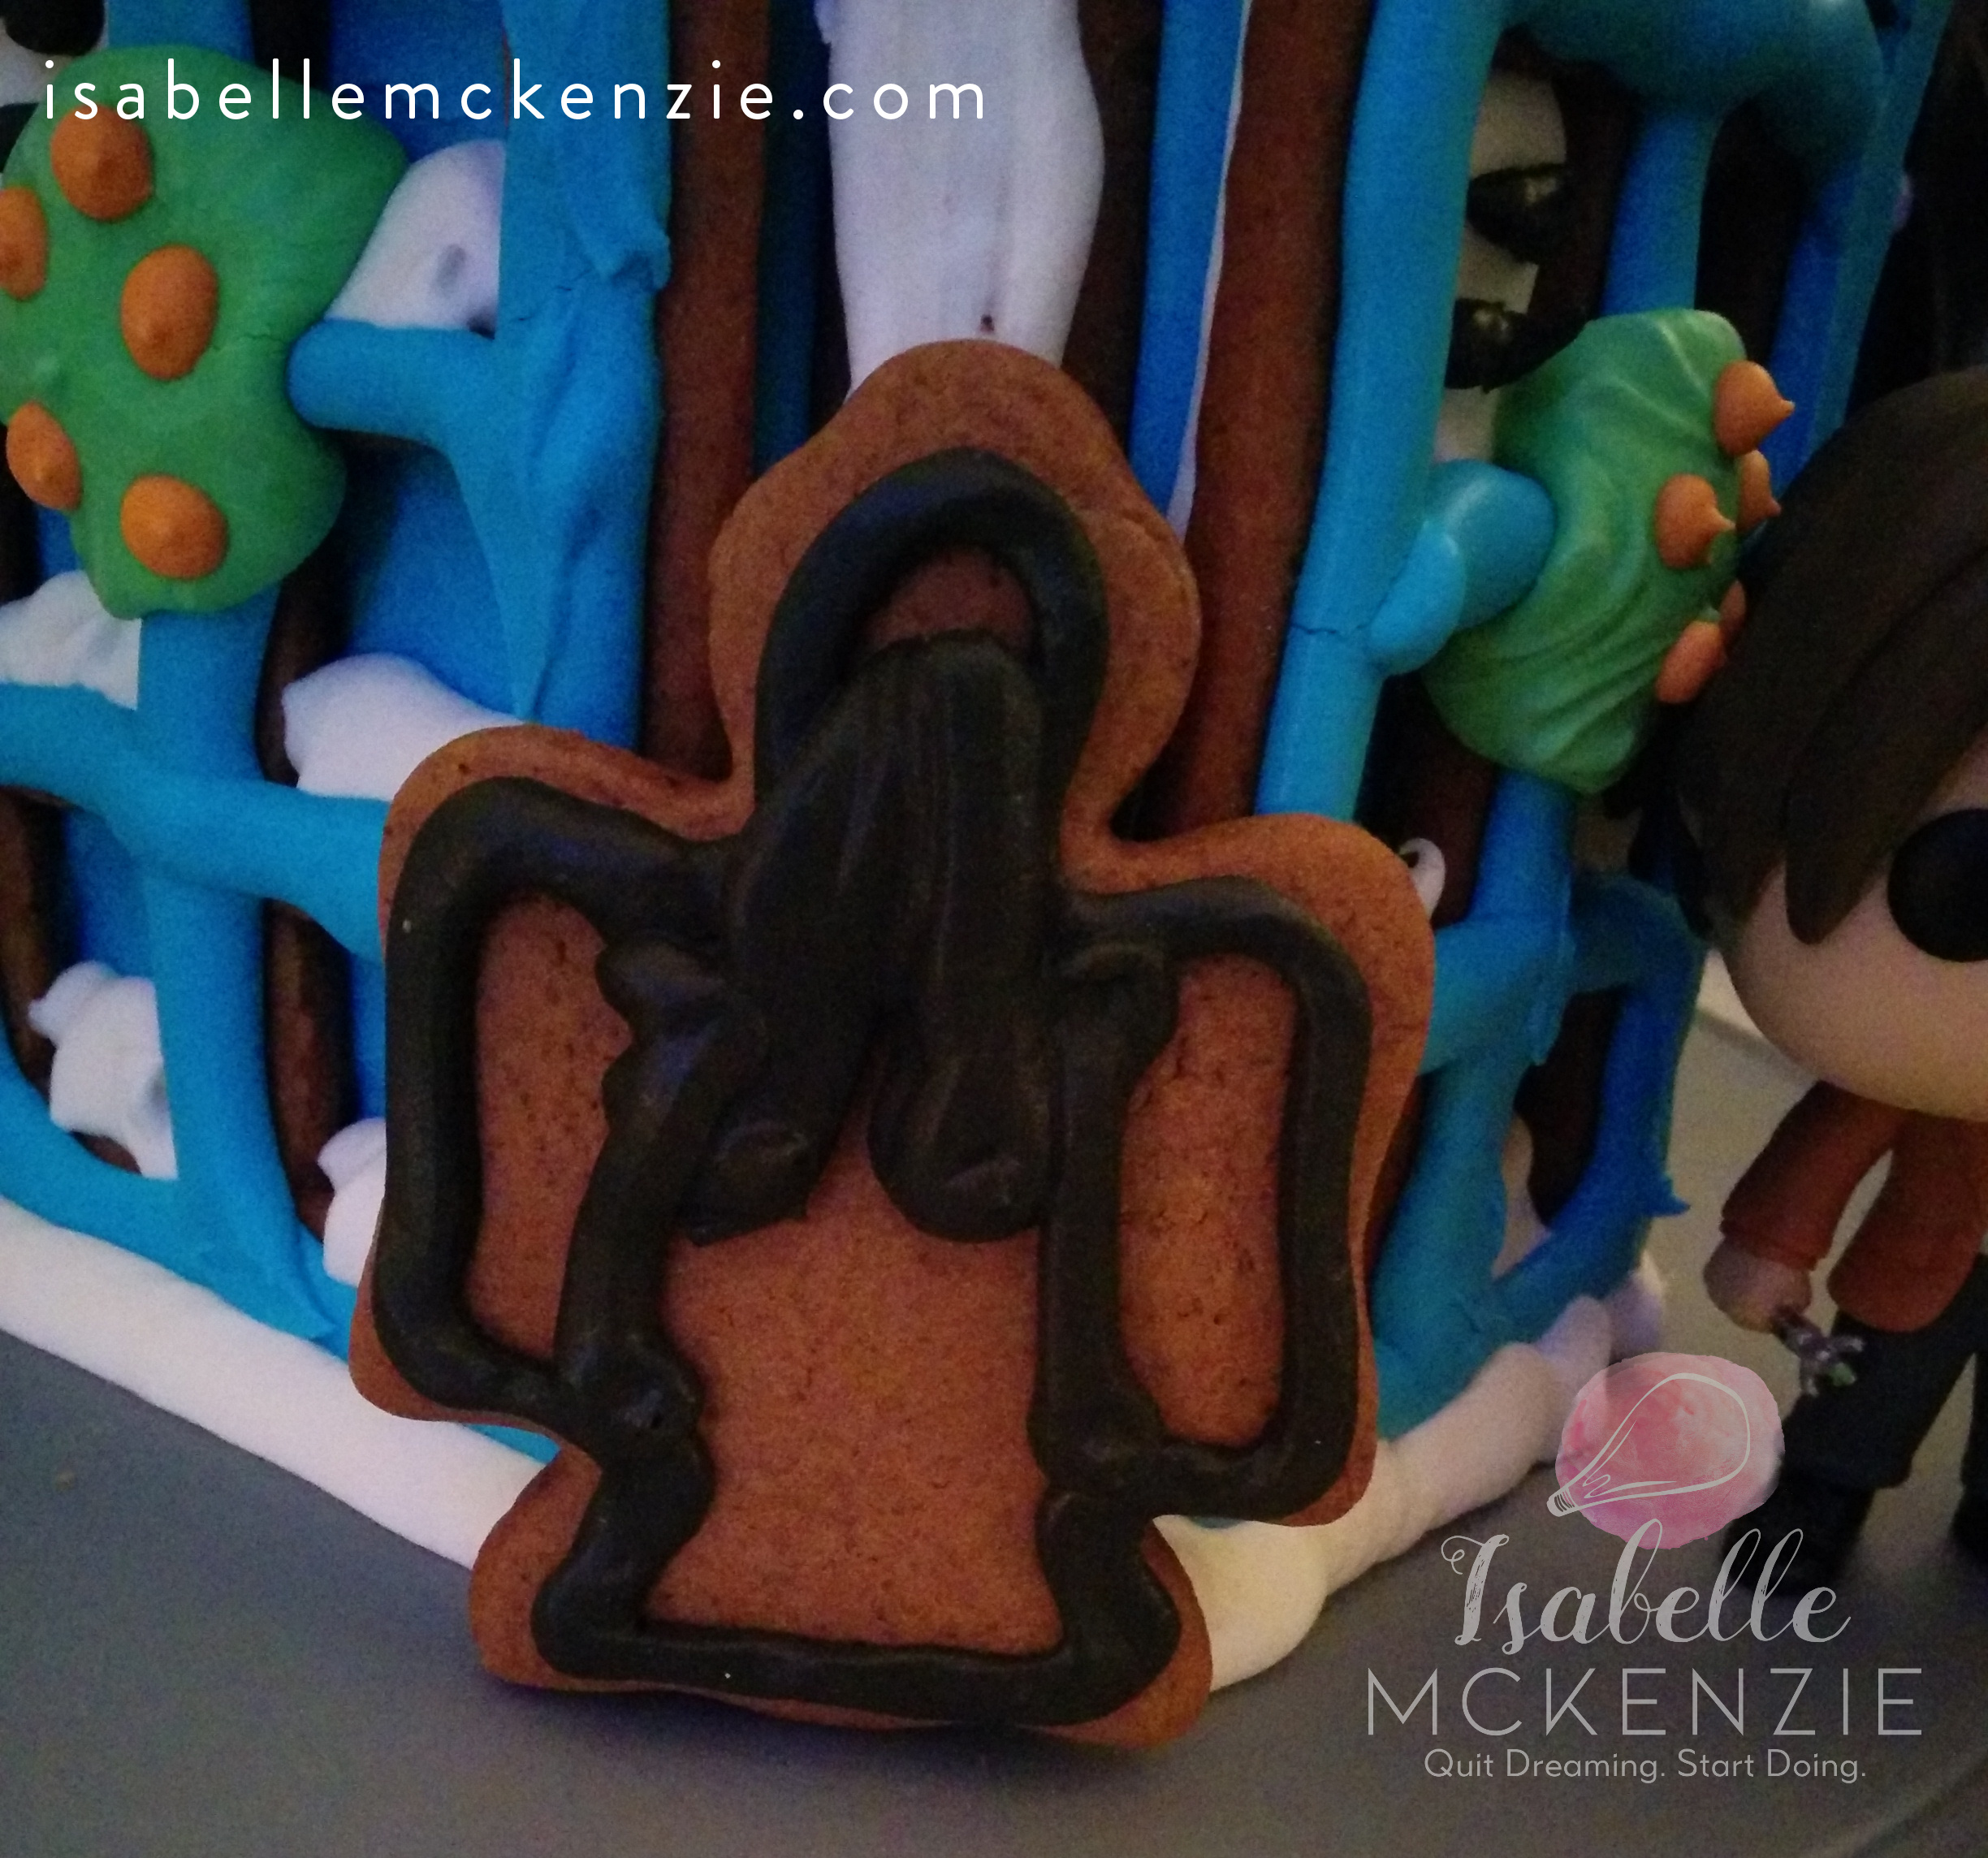
DIY Doctor Who TARDIS Gingerbread House Weeping Angel
Some people recommend gluing the paper templates to cardboard before cutting out the details, but I never do. Make sure you prep your template before rolling your dough.
The Piping
I used a few piping tips from this Kootek Piping Set along, with these disposable bags. However, I think using a piping bottle is easier. You can get one for about $3 on Amazon here.
You'll also need some gel food colour. I recommend using Good Cooking's gel colours, for a deeper frosting colour. Oh, and you'll also need some yellow candy for your TARDIS light.
Trimming/Decorating the Dough + TARDIS Assembly
Once you've prepped and chilled your dough, it'll be time to roll and trim.
You'll need 4 inside door panels, 4 outside door panels, 4 police box signs, and the 3 roof pieces.
Roll out your dough on a piece of parchment or foil to about 1/4 inch (except for when making the outer walls - they should be a tad thinner) and move the untrimmed piece of dough onto your baking sheet. You don't want to move the pieces after cutting out the details or they will lose their shape.
Cut the dough into the initial rectangles, then pop the tray into the freezer for about 10 minutes. With the door panels, you want the dough to be firm before cutting out the windows, otherwise you'll end up with a sticky misshapen mess.
Bake until firm to the touch throughout. I baked mine for about 15 minutes. You may need to trim your baked cookie's edges to fit back to the template's lines. I didn't bother and ended up with a roof that didn't fit, so don't skip trimming.


Once your baked pieces are completely firm, it's time for decoration.
Prep your frosting according to the recipe directions, but beating only to a soft peak. You'll need lots of blue and white frosting, but make sure your reserve some of the white to colour black, green, and red for your writing/embellishes (use a gel food coloring - the colour is more concentrated and won't ruin the texture of your frosting - (again, I use these gel colours that I got here).
Lay your cookie pieces on clean flat surface.
Trim four pieces of parchment paper to a size that will cover the two top windows (as pictured above). Starting with the inside door panels, trace the edges of the cookies with blue frosting,

Lay the parchment pieces over the top windows, then fill in the remaining blank space in the center of the cookies, sealing in the parchment pieces (you may need to use a spatula to smooth out the frosting depending on how thick you made it).
Continue filling in the other cookies shapes with blue frosting, but leave the police box sign panels blank.
Instead, flip them over so the flat bottom faces upward, and stick the pieces into the wet frosting of the outer door panels.
Take some of your reserved black frosting, and fill in the police signs, then add some window lines to the parchment window panel cookies.
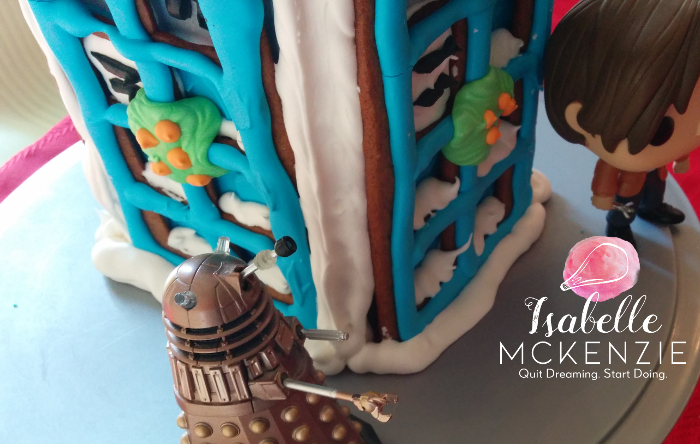
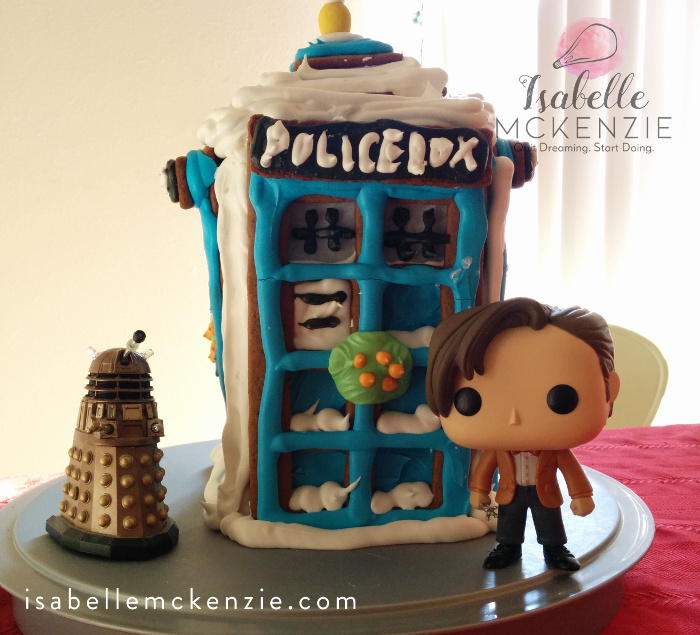
Once the initial blue layer of frosting is dry, use the some white frosting to make "snow" in the TARDIS doors and to write POLICE BOX (I had no space for the rest). Use more white frosting to fill in the information sign, and use the rest of your black frosting to add the wording. Once all of that dries, use your red and green frosting to make wreaths.

Once the icing is dry, it's time to assemble the TARDIS.
Assemble your TARDIS on plate or display surface such as cardboard. It may seem a bit tricky at the start, but stick the panels together with a thick frosting glue piece-by-piece.
I used clean empty mugs to balance the panels while I put them there to frost, but you can have someone helping you hold them up in place.
Once your pieces are stuck together and dry (including the roof), use any leftover white frosting to add snow, and to attach the little light to the top of your TARDIS. I used a yellow chocolate Easter egg for my light, but you can use gumdrops or any other yellow can you have on hand.


… yup, the Isabelle behind the IsabelleMcKenzie.com!
Instagram: @ItsIsabelleM | Pinterest: @ItsIsabelleM | Subscribe on Youtube
I’m dedicated to helping teach people how to live their happiest, healthiest life and reach their goals so that they can create the lifestyle of their dreams with integrity & purpose.
I focus on self-care, mind, body and health, dedicated to helping teach peeps how to live their happiest, healthiest life and reach their goals so that they can create the life that will have them jumping out of their bed in the morning to actually live!
Read More >